Are you gearing up for the exciting moment when you finally close on your new property? There's a lot to keep in mind during the pre-closing walkthrough, from checking all fixtures to ensuring any repairs have been completed. It's your last chance to ensure everything is in order before signing those important documents. So, let's dive into a comprehensive checklist that'll make your walkthrough smooth and stress-freeâread on to discover the essential steps!

Property Condition and Repairs
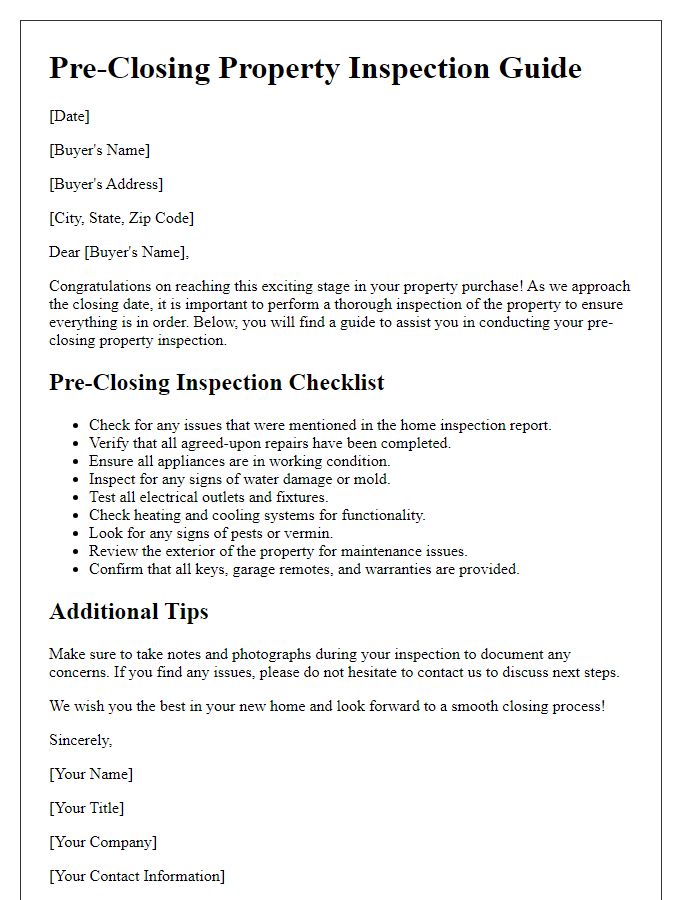
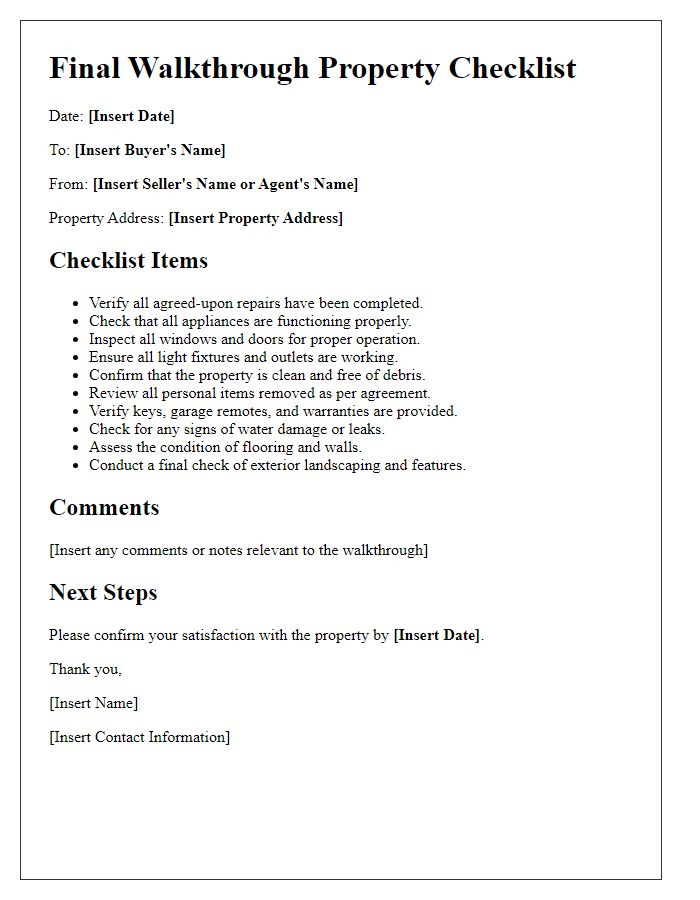
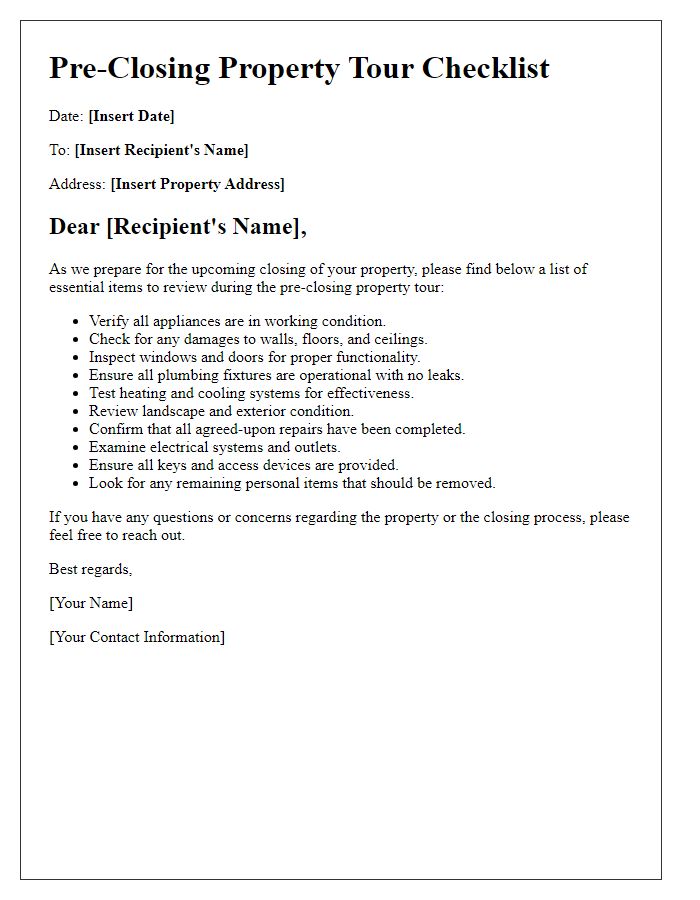
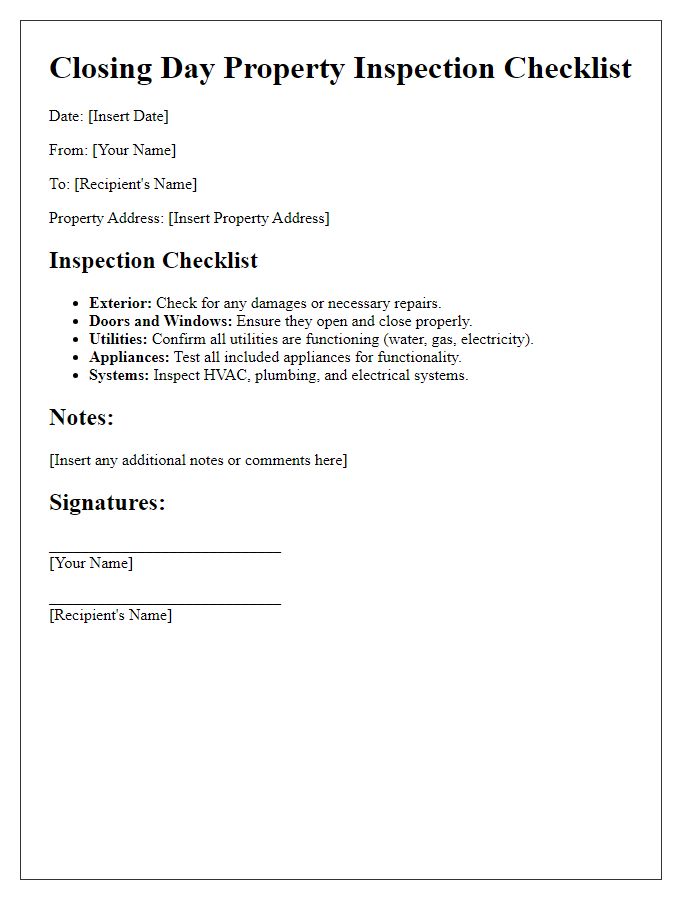
The pre-closing property walkthrough is a crucial process for homebuyers, ensuring that the condition of the property meets expectations outlined in the purchase agreement. The checklist typically includes assessing the structure, such as windows, doors, and roofing for any visible damage or wear. Interior examinations focus on evaluating the functionality of appliances, HVAC systems, and plumbing fixtures, checking for leaks or malfunctions. Buyers should confirm the presence of agreed-upon repairs, such as paint touch-ups or flooring replacements, and verify the property is clean and free of debris prior to closing. Additionally, an inspection of outdoor spaces--like landscaping and fencing--can highlight necessary maintenance or improvements that need addressing. This walkthrough is essential to ensure a smooth transaction process and avoid any unexpected issues after finalizing the sale.
Utilities and Appliances Check
During the pre-closing property walkthrough, thorough examination of utilities and appliances is essential to ensure functionality and compliance with agreed-upon terms. First, inspect the HVAC system (heating, ventilation, and air conditioning), confirming that both heating units and air conditioning units operate efficiently. Evaluate all kitchen appliances, including refrigerator, oven, microwave, and dishwasher, checking for any signs of damage or malfunction. It is crucial to verify water heater performance for proper heating capability and hot water supply. Next, test plumbing fixtures such as sinks, toilets, and showers, ensuring there are no leaks and that drainage is efficient. Review electrical fixtures, including light switches, outlets, and ceiling fans, confirming that electricity flows without interruption. Lastly, assess any additional utilities, such as gas lines for stoves or fireplaces, ensuring their safe and proper function. Document any issues that arise during this examination to address with the seller prior to closing.
Documentation and Paperwork Verification
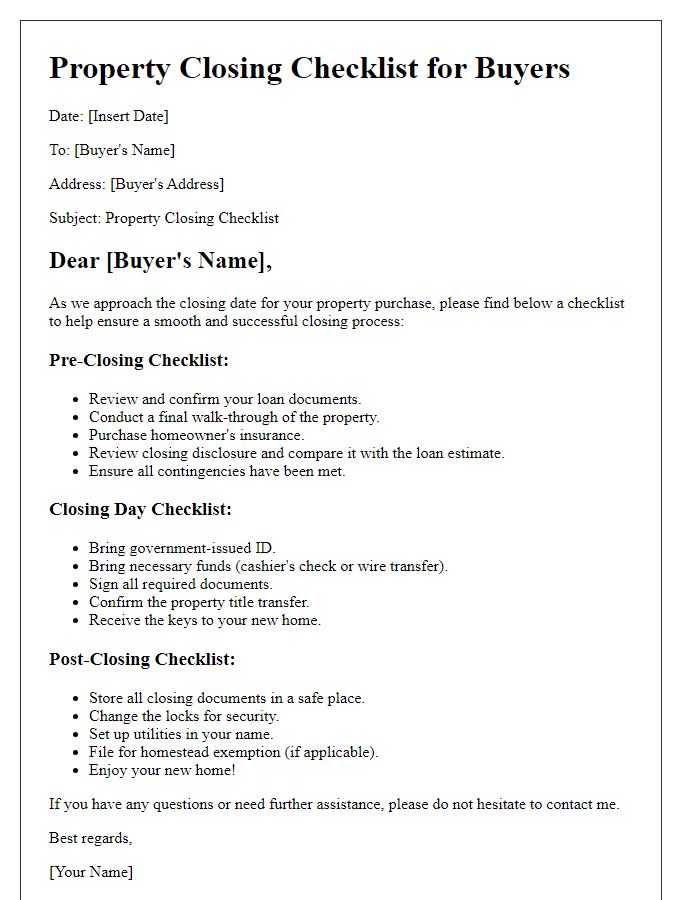
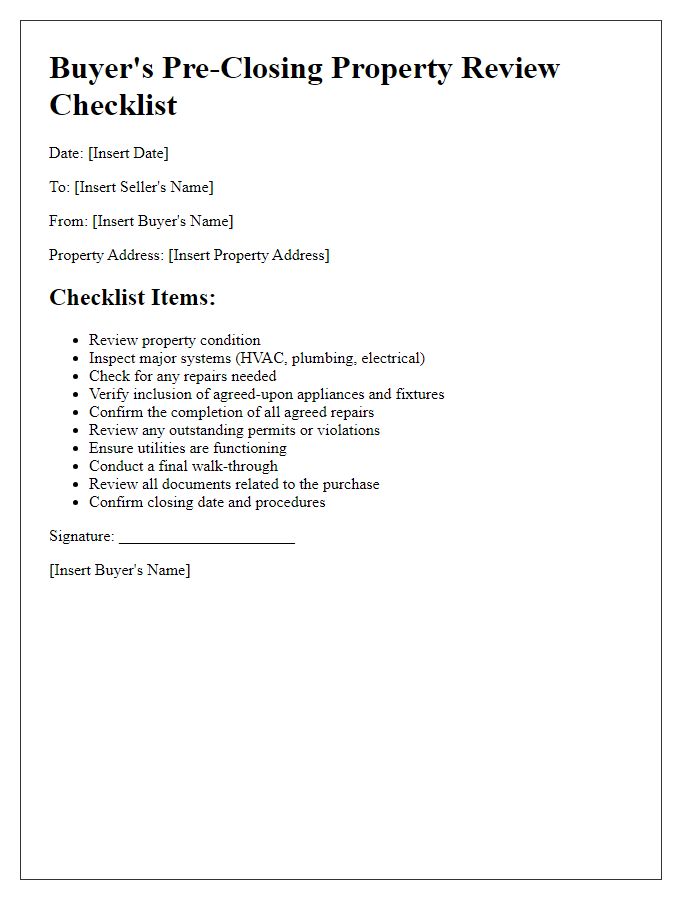
Thorough documentation and paperwork verification is essential during the pre-closing property walkthrough for real estate transactions. Buyers should meticulously review essential documents such as the Purchase Agreement (containing terms and conditions of the sale), Title Report (which identifies property ownership and any liens), and Closing Disclosure (delineating the final costs and fees associated with the transaction). Additionally, homeowners should inspect the mortgage documents to ensure interest rates align with agreements made, and homeowners' association (HOA) rules should be scrutinized, especially relevant for properties in communities like Scottsdale, Arizona. A checklist should include verifying the presence of necessary inspections (e.g., pest, structural), warranty papers for items like HVAC systems, and utilities bills settled for the property address before finalizing transactions. Ensuring that all property-related disclosures, including lead paint or environmental hazards, are addressed protects buyers from future liabilities.
Final Walkthrough Scheduling
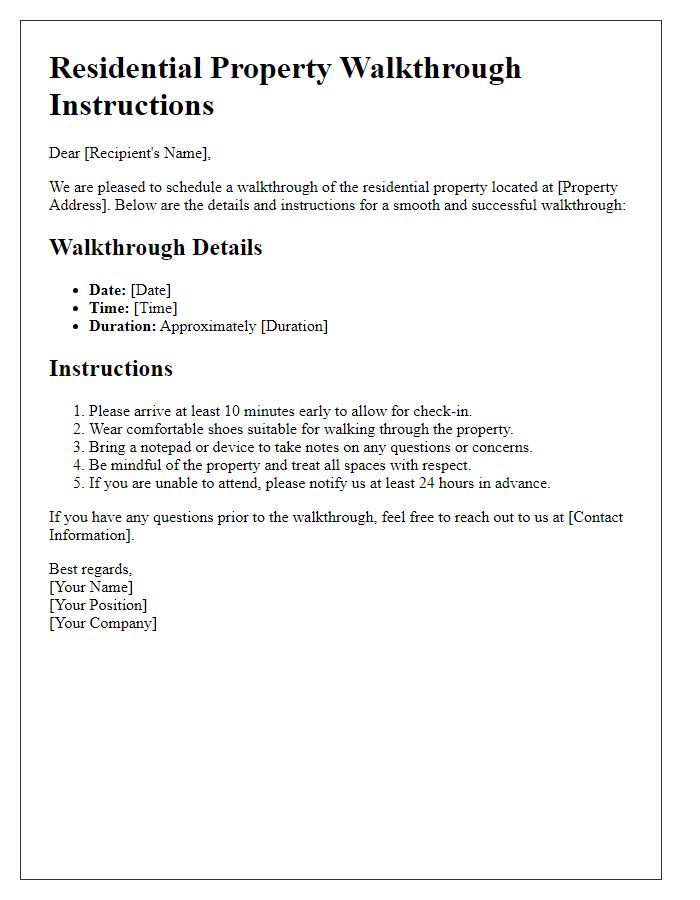
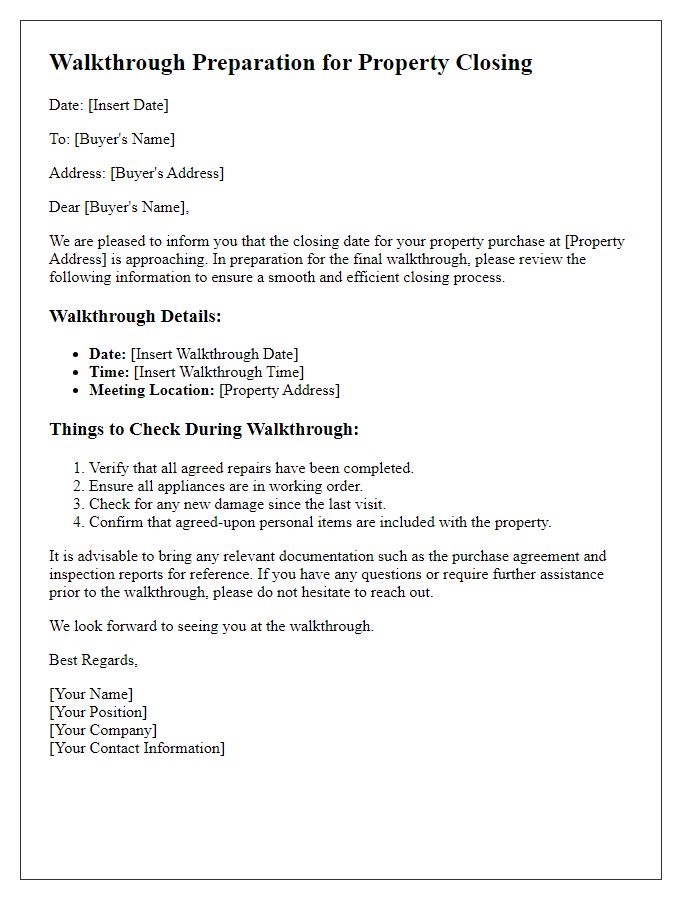
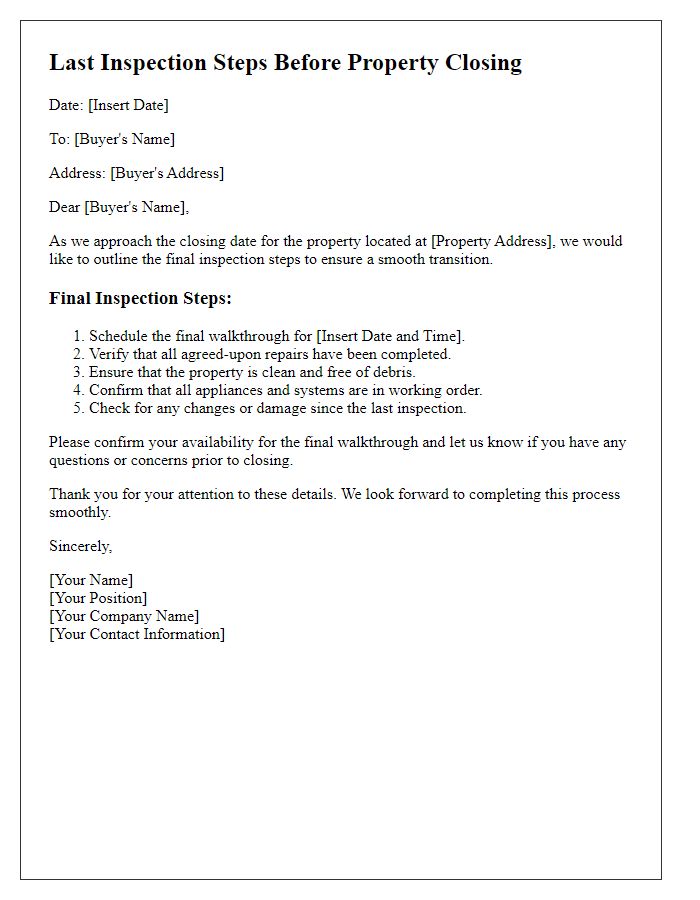
Final walkthroughs serve as a critical step in the residential property purchase process. These assessments ensure all necessary repairs, agreed upon during negotiations, are completed (typically outlined in a purchase agreement). Buyers inspect the condition of essential systems like plumbing (including sinks, toilets, and water heaters), electrical systems (such as light fixtures and circuit breakers), appliances (oven, refrigerator), and structural elements (walls, floors, ceilings) of the property located at the designated address. This procedure usually occurs 24 to 48 hours before closing (the date the property's ownership officially transfers) to address any last-minute concerns. Homebuyers often take this opportunity to verify that all personal items belonging to the seller have been removed, especially furniture or other belongings which could impact the transition. Furthermore, the walkthrough ensures that the agreed-upon terms, such as fixtures and inclusions, are present and functional, preventing potential disputes after closing.
Communication with Seller/Agent
A pre-closing property walkthrough checklist facilitates effective communication between the buyer, seller, and real estate agent regarding the condition of the property before finalizing the sale. Essential items include verifying the functionality of all appliances such as the refrigerator and stove, confirming that plumbing fixtures, including faucets and toilets, are operational, checking for any remaining personal property that was part of the sale agreement, and inspecting the condition of floors, walls, and windows for any damages. Important details also involve confirming that all agreed-upon repairs have been completed, ensuring utilities are active for seamless transition, and verifying that the property has been cleaned thoroughly. Additionally, documenting any discrepancies or issues found during the walkthrough, along with the corresponding images, supports clear communication and helps facilitate timely resolutions with the seller or agent, ensuring a smooth closing process and satisfaction for all parties involved.



Comments